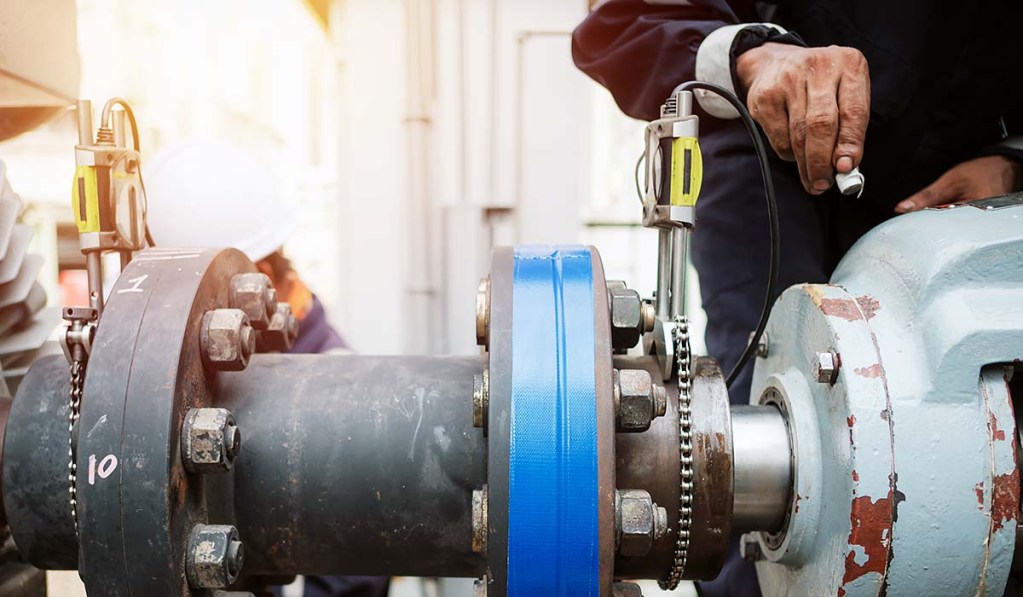
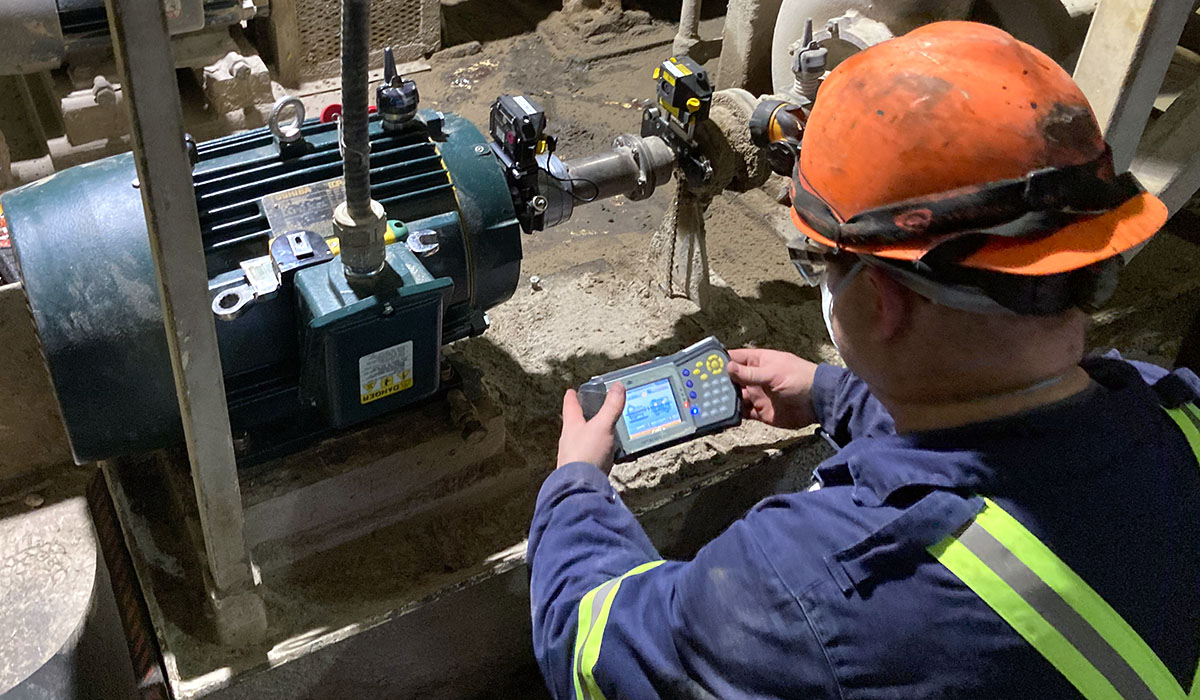
When operating a business in today’s demanding markets, there is little allowance for downtime. We can achieve this by ensuring that our machines are running in an optimum state. This is achieved by correctly aligning our equipment and decreasing excessive vibration and temperature.
Here are some key points explaining how precision machine alignment contributes to improved reliability:
1. The Critical Steps in Machine Alignment
First, you need to follow the pre-alignment procedures:
- Relieving pipe and conduit strain, ensure a clean, flat, and level base.
- Performing a rough alignment; if done correctly can get the Millwright/Technician within 0.010” (0.254mm).
- Eliminating soft foot; short leg, angular, sprung/irregular soft foot, and squishy foot (too many shims under a foot).
- Then performing a precision alignment using dial indicators or laser alignment system.
It is imperative that the technicians performing this work are trained and practiced in these methods so when the time comes, they are confident performing the work. Otherwise, frustrations and mistakes can take place.
2. Unlocking precision: the crucial role of technicians
Nowadays with the advancements in laser alignment units, we can achieve a high degree of precision, easily within 0.001” (0.0254mm) but having purchased a laser alignment unit isn’t enough to say, “we have precisely aligned machines”.
We need to have trained and competent technicians performing these alignments. By eliminating installation errors, using correct fasteners and torque values/patterns, following alignment procedures and practices we will achieve these results.

3. Why seek such a high degree of precision?
It’s important to understand why we seek these results. Maybe you’ve heard someone say that “the coupling can take 0.040” (1.016mm) misalignment”, which raises the question of “why not just use these couplings and avoid the alignment?”.
Well, the bearings that support the shaft in pumps, compressors, engines, and other rotating equipment will only tolerate a maximum of 0.002” (0.508mm) angular or offset misalignment at speeds <1800 rpm.
These tolerances become even tighter with increasing speed. Speeds >3600rpm often require 0.0005” (0.0127mm).
4. A key factor: the question of hot and cold thermal growth
Then there is the issue of thermal growth both hot and cold.
For example, a hot condensate pump made of cast iron [coefficient 0.0000063” (0.00001134mm)] has a thermal differential temperature of 112°F (44.44°C); ambient temperature being 100°F (37.78°C) and its normal operating temperature of 212°F (98.88°C). The height of the pump shaft centerline is 20” (508mm). Using the equation.

Knowing this, the Millwright or Technician completing the installation and alignment purposely misaligns the coupled shafts of the pump by -0.014” (-0.256mm) so that when the equipment comes up to operating temperature it is THEN in proper alignment.
*The run-up time will have poor vibration, Ge and amperage draw measurements, but it is better to run poorly for the run uptime and then run within specification then to have perfect cold alignment and operate in a state of misalignment for the life of the equipment, which will be shortened due to not accounting for thermal growth.
Equipment that operates in a cold state like refrigerant compressors would need to be compensated positively to accommodate contraction of the material.
5. Another key factor: the imbalance
Another concept to consider is imbalance. We can have perfect alignment but if the coupling keys are in the wrong orientation or are too short or too long, excessive vibrations will occur.

Conclusion
Understanding that through Vibration monitoring, Ultra-sonic monitoring, and amperage readings we can prove that a machine is running in an optimal state. This decreases or eliminates costly downtime, excessive inventory stock levels and unnecessary energy usage.

Cyril Daley
Reliability Trainer – Atlantic Controls
cyril.daley@atlanticcontrols.ca

