Implementing condition monitoring tools such as infrared cameras into your plant’s reliability program can yield impressive returns on investments (8 To 12% annual cost reduction through IR thermography). Adopting these technologies can lead to early fault detection and reduce reactive maintenance practices, improving your bottom line. But are you obtaining the full payoff for your efforts or merely scratching the surface of what’s possible?
This article will explain the often-overlooked tips and tricks of IR thermography that will separate your reliability program from the competition. Let’s get into it!
1) Training & Procedures
Conducting a reliability program without adequately trained staff is virtually impossible, and thermography is no exception. Proper training proliferates through all the tips on this list; without it, even the best-intentioned programs will surely fail. Ensure all personnel who operate an IR Camera have gone through approved training programs. These training programs can come directly from the equipment manufacturer or through third-party companies. These training sessions will teach technicians how to use the equipment properly, troubleshoot problems and go over all aspects of this article in more detail.
However, classroom training can only take you so far. Proper site-specific training ensures technicians follow and fully understand detailed procedures when collecting readings. These procedures should outline all data that must be collected during the measurement; examples include but are not limited to ambient temperature, machine operating conditions, presence of wind, camera settings, lens type and more.
2) Emissivity
Understanding emissivity is essential to conducting a proper thermography program.
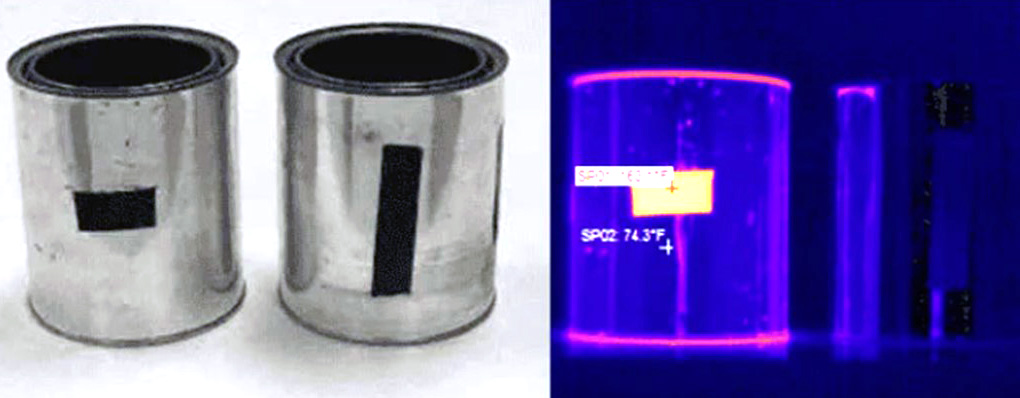
There are multiple ways to ensure emissivity issues impact your measurements as little as possible. Simple solutions such as shielding your measuring point with your body or clipboard can help in specific situations but are not always the most reliable methods. Another practice is to place a thin, highly emissive layer over your measuring point, typically a specialized tape or paint with a known emissivity value.
This increases emissivity while also ensuring the measurement is taken at the same point every time. Most devices have settings allowing users to account for different emissivity levels. Using a thin layer of tape can allow you to obtain a true temperature reading and then adjust the emissivity until the rest of the body reads the same as the original tape measurement. The operator can then note the material’s emissivity and eliminate the need for adding an emissive layer.
Above all, follow the specifications from the manufacturer or your measuring device

Figure 1: The effect of using highly emissive tape on shiny metallic surfaces1
3) Proper Data Management
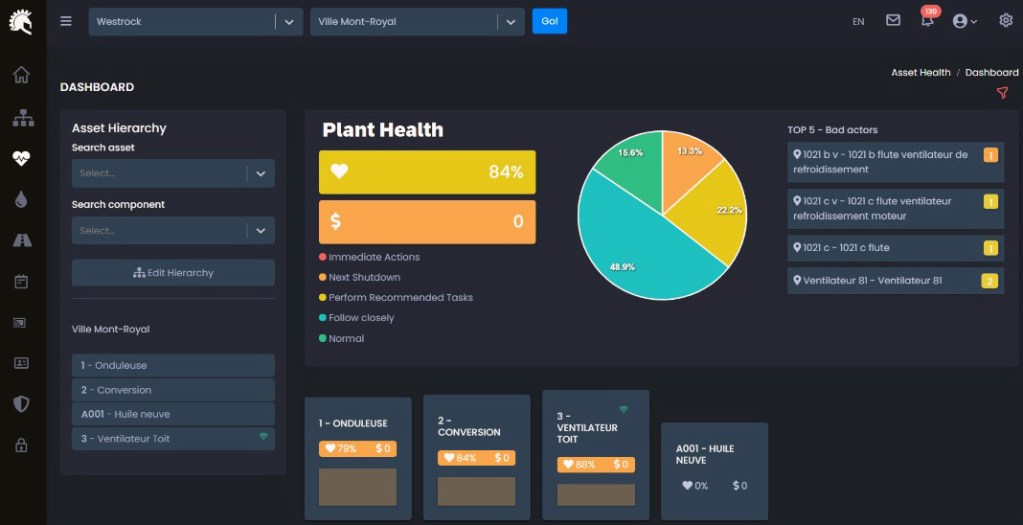
AA common pitfall of even the best-intentioned reliability programs is inadequate or non-existent data management. Piles of handwritten notes and personally owned Excel sheets lead to low-quality and unmanageable data. Fortunately, one of the key aspects of Industry 4.0 is leveraging tools, such as computerized maintenance management systems (CMMS), to maximize the usability of the data you work so hard to collect.
With proper implementation, CMMS can handle all the heavy lifting of data management. These systems can be tailored to pull data from collection devices into premade templates automatically linked to individual assets. This software can auto-generate visual tools such as graphs, allowing maintenance personnel to see the big picture and analyze trends over time, all while having confidence in the quality of the data being used.

Figure 2: example of asset health management with Spartakus APM
4) Camera Maintenance and calibration
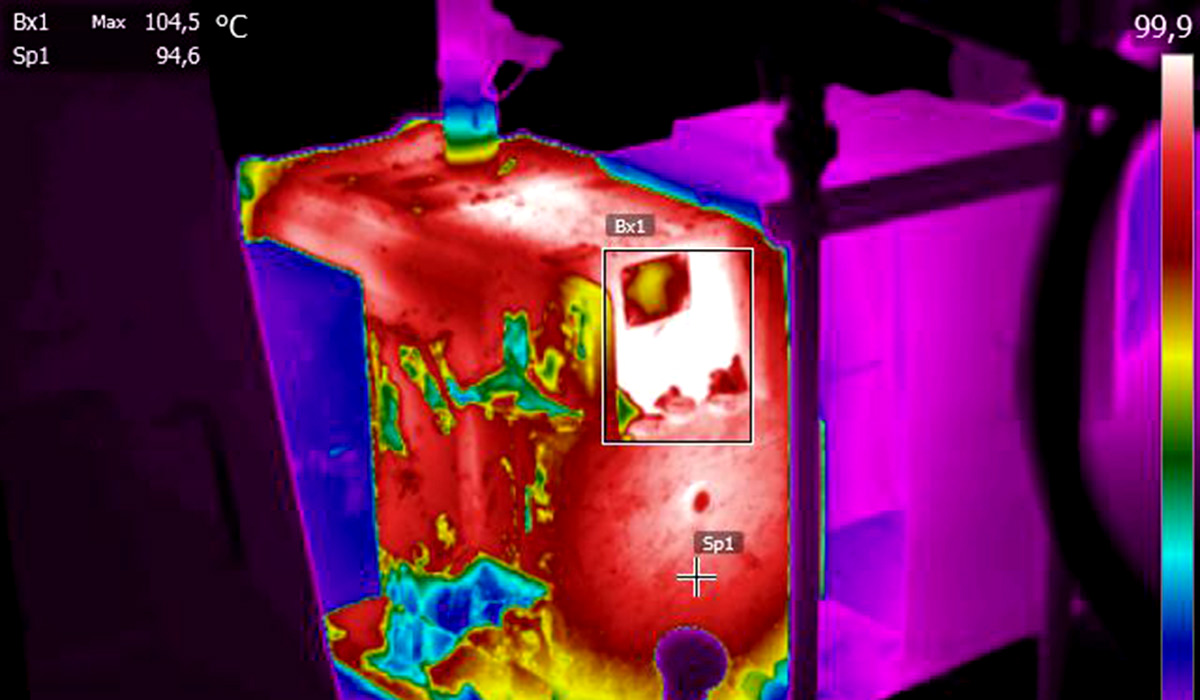
Yes, even maintenance equipment requires maintenance. Ensuring your IR Camera is operating at its optimal capacity will keep your thermography program running smoothly year after year! It is essential to know the manufacturer’s recommended calibration period for your specific device, but a good rule of thumb is to calibrate your camera professionally every year. While some subscribe to the do-it-yourself calibration methodology, it is best to follow the manufacturer’s specifications, which typically involve sending the device back to the manufacturer to perform a certified calibration under controlled conditions.
Proper CMMS can be a valuable tool in ensuring routine camera calibration doesn’t hinder regular maintenance activities. Having programmed reminders notifying you of when condition monitoring equipment will be out of service can give you enough time to secure a replacement device or find other solutions to prevent missed measurements from creating gaps in your data.

Figure 3: IR Camera Calibration Setup2
Conclusion
Knowing these crucial tricks is a surefire way to get your IR thermography program off to a great start and ensure the data you collect accurately represents what’s happening at your plant!

Matthew Ford
Reliability specialist – Laurentide Controls
mford@laurentide.com
References
- Teledyne FLIR (2021, November 1). How Does Emissivity Affect Thermal Imaging? FLIR. Retrieved December 11, 2023, from https://www.flir.com/discover/professional-tools/how-does-emissivity-affect-thermal-imaging/ ↩︎
- Teledyne FLIR (2023, September 12). How Do You Calibrate a Thermal Imaging Camera? FLIR. Retrieved December 11, 2023, from https://www.flir.ca/discover/professional-tools/how-do-you-calibrate-a-thermal-imaging-camera/ ↩︎

